Earned Leave (EL)—also called Privilege Leave (PL) or Leave on Average Pay (LAP)—is different from Casual Leave. It’s a credited leave, built up over time, and every day you take is recorded in your service history. That’s why HRMS treats EL more formally, with checks, approvals, and (often) a joining report at the end.
Most government and private organizations now use an Employee Self Service (ESS) workflow. The screens may look different, but the steps are largely the same.
Before You Apply: Quick Checks
- Confirm your EL balance (EL is usually credited twice a year—January and July—or monthly, depending on policy).
- Plan ahead. EL is meant for planned absences and usually needs advance notice.
- Know your rules: minimum days, prefix/suffix, station leave, and approval levels.
Doing these checks first avoids rejections and delays.
Step-by-Step: How to Apply for Earned Leave in HRMS
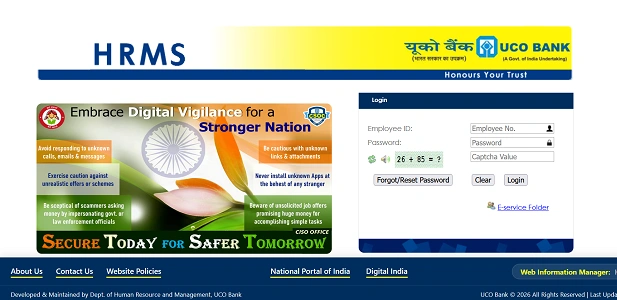
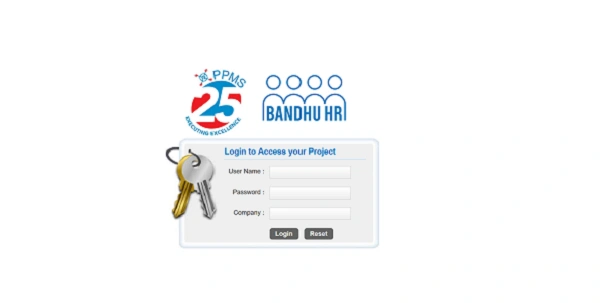
Step 1: Log in to HRMS
- Sign in using your Employee ID and Password.
- This could be a government portal (e-HRMS/Railway HRMS) or a private HRMS.
Step 2: Check Your Earned Leave Balance
Go to:
- Leave Management
- Leave Balance / My Leave Ledger
Make sure you have enough EL days for the dates you plan to take. If the balance looks wrong, get it corrected before applying.
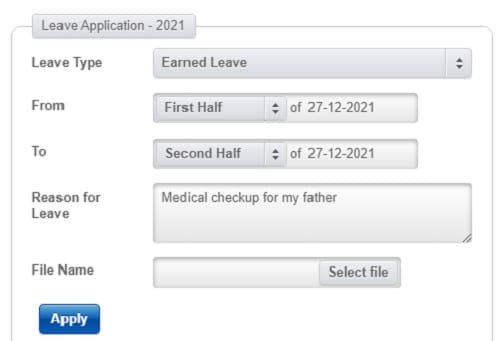
Step 3: Open “Apply Leave”
- Click Apply Leave / New Leave Application.
- This opens the leave request form.
Step 4: Select Leave Type
From the dropdown, choose:
- Earned Leave (EL)
- or Privilege Leave (PL) / LAP (name varies by organization)
Double-check the selection—choosing the wrong leave type is a common mistake.
Step 5: Enter Leave Dates
- From Date: First day of leave
- To Date: Last day of leave
The system automatically calculates the total number of days.
Prefix/Suffix:
If holidays or weekends fall before or after your EL, many systems allow you to prefix/suffix them. Mention this clearly so they aren’t deducted from your balance by mistake.
Step 6: Station Leave (If Applicable)
If you’re leaving your headquarters/city:
- Tick Station Leave Required
- Enter destination address and contact number
Some departments strictly enforce this for EL.
Step 7: Enter Reason for Leave
Keep it short and professional:
- “Personal work”
- “Family function”
- “Planned vacation”
Avoid unnecessary details.
Step 8: Submit the Application
- Click Submit / Forward. Your request goes to your Reporting Officer (and sometimes a higher authority) for approval.
- Important: Do not leave your station until the status changes to Approved / Sanctioned.
Important Earned Leave Rules (2026 – Common Practice)
| Rule | What It Means |
| Advance notice | EL usually needs 7–15 days’ notice |
| Minimum duration | Some offices require 3–5 days minimum |
| Prefix/Suffix | Allowed if mentioned clearly |
| Approval level | Higher than Casual Leave |
| Service impact | EL affects your service record |
Always follow your department’s specific policy if it differs.
How to Track Your EL Application
After submitting:
- Go to My Leave Applications / Leave Status
- Check whether it’s Pending, Forwarded, or Approved
If it stays pending too long, follow up politely with your Reporting Officer.
After You Return: Submit Joining Report
This step is often overlooked—and it matters.
Why it’s important
Submitting a Joining Report:
- Closes the leave cycle
- Confirms you’ve resumed duty
- Prevents salary issues or “break in service” flags
How to do it
- Log in to HRMS
- Go to Leave Management
- Click Submit Joining Report
- Confirm the date of joining and submit
Some systems won’t process the next payroll correctly until this is done.
Common Problems and How to Avoid Them
EL balance shows zero
→ Ask HR/Establishment to update credits before applying.
Application rejected
→ Check remarks—often due to short notice or missing station leave.
Salary issue next month
→ Joining report not submitted on time.
Best Practices
- Apply EL early, especially for long breaks.
- Double-check dates, leave type, and balance.
- Mention prefix/suffix clearly.
- Track approval before traveling.
- Always submit the joining report after return.
Final Thoughts
Earned Leave is valuable. It accumulates over years and plays a role in your service record—and sometimes even retirement benefits. HRMS has made the process transparent, but it also expects accuracy and discipline.
Apply EL the right way, follow the rules, and close the loop with a joining report. Done properly, it’s a smooth, predictable process that works in your favor.